
Activating the Office suite
Activating Microsoft Office Using Only PowerShell Commands Hello everyone, today I'm going to show you how to activate the Microsoft Office suite using only...
Explore artigos, tutoriais e notícias selecionadas especialmente para você.

Activating Microsoft Office Using Only PowerShell Commands Hello everyone, today I'm going to show you how to activate the Microsoft Office suite using only...

Ativando o Pacote Office Apenas Com Comando No Windows PowerShellFala Pessoal, hoje eu vou ensinar como ativar o pacote office apenas com comandos no...
Activating Windows 11 Using Only PowerShell Commands Hello everyone, today I'm going to show you how to activate Windows 11 using only commands in the...
Ativando o Windows 11 Apenas Com Comando No Windows PowerShell Fala Pessoal, hoje eu vou ensinar como ativar Windows 11 apenas com comandos no terminal...
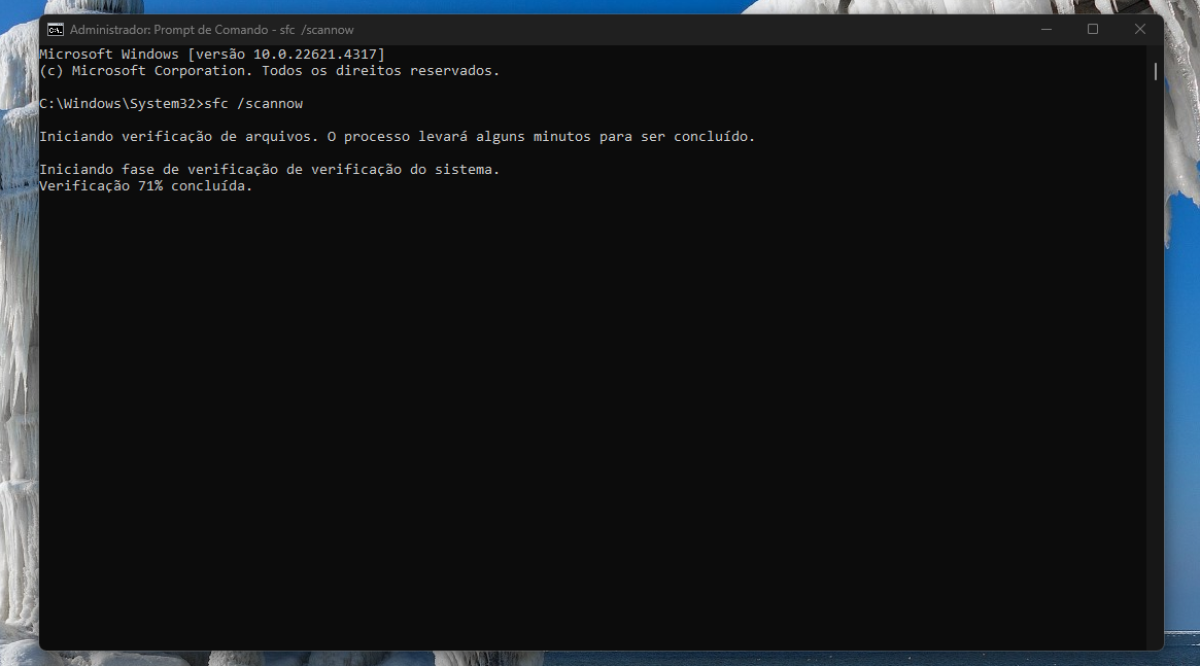
O Windows 11 é um sistema robusto, mas com o tempo, arquivos residuais, registros corrompidos e configurações de energia podem causar lentidão. Antes de...

Uma Ferramenta Completa para Jogadores e Administradores de Servidores Se você é fã de Minecraft, administra um servidor ou simplesmente quer explorar as...

Uma das diferenças mais sutis, porém impactantes, entre um site com "cara de amador" e uma interface profissional é o uso de luz e sombra. Durante anos,...

Guia Completo: KF Color Studio A Ferramenta Definitiva para Design de Cores Profissionais ✨ Dica Rápida: Este guia é parte integrante da ferramenta KF Color...

Copiar arquivos individuais no Google Drive é bastante simples: botão direito, "Fazer uma cópia". Mas e quando você encontra aquela pasta compartilhada...

Como atualizar as informações de compartilhamento no Facebook: Tags Open Graph e Depurador Ao compartilhar uma página do seu site no Facebook, a rede social...

Um sistema profissional não se define apenas pelas funcionalidades que funcionam, mas também por como ele lida com o imprevisto. Quando um usuário cai em...
Seja para desenvolver um sistema complexo ou hospedar seu site com segurança, estamos prontos. Preencha o formulário e nossa equipe técnica entrará em contato.
Nos conte um pouco sobre sua necessidade.